

Is your kitchen tap showing signs of wear? Maybe it's started to leak, or you simply want to update your kitchen sinks and taps so it matches your new interior?
Whatever your reason for replacing the tap, here at Bathroom Takeaway we are here to guide you through the whole process on how to replace a kitchen tap.
How To Remove And Fit A New Kitchen Tap
So, when it comes to removing and fitting your new kitchen sink tap, it’s actually more straightforward than you probably first thought. First things first let’s cover the equipment you will need for this
What You’ll Need to Replace a Kitchen Tap:
Tools:
- Adjustable spanner
- Basin wrench (handy for nuts under the sink)
- Screwdriver
- Allen key (some taps need one)
- Bucket and an old towel (to catch any water)
Materials:
- New tap
- Flexible tap connectors
- PTFE tape
- Silicone or plumbers putty
Now we have all the necessary materials, let’s take a look firstly on how to remove your tap.
How To Remove A Kitchen Tap
Before you start any of the steps below, we best suggest that you clear your full sink area.
We are aware that some homeowners like to utilise the space beneath the sink for storage, so before attempting any work in this area, it's advisable to first clear out all stored items. This will give you unobstructed access to the pipework underneath too.
Step 1: Before accessing the area under the sink, turn off the water supply and remove any items stored there to ensure clear, unobstructed access as mentioned above.
Step 2: To completely drain the plumbing system, turn on the kitchen tap and any other taps throughout the house.
Step 3: Once done, then disconnect your existing tap by unscrewing the two flexible supply lines from the main water pipes using an adjustable wrench and pliers. Be sure to note which line is connected to the hot water and which is connected to the cold water.
Step 4: To remove the tap from the mounted surface, you'll need to unscrew the attached nut. This can be a tricky task, as the nut can be difficult to access. For best results, have someone hold the tap in place while you unscrew the nut. This will help prevent any damage to the sink.
Step 5: After removing the old tap, you may notice some minor marks and grime on the sink where it was previously installed. Be sure to give that area a quick wipe-down before setting up the new tap.

How To Replace A Kitchen Mixer Tap
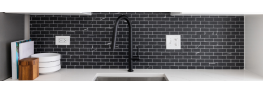
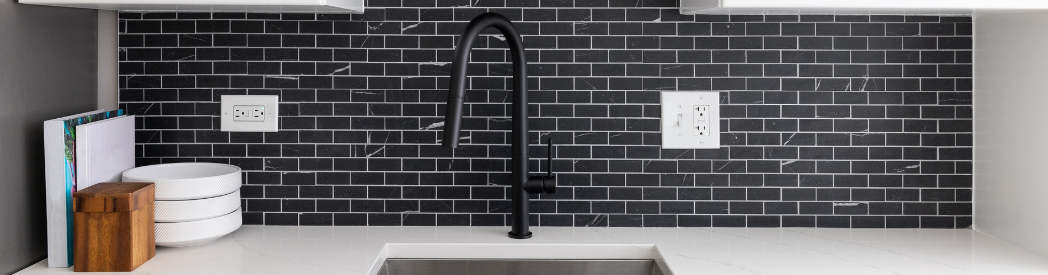
Now you have found the perfect new kitchen tap, whether it be a black kitchen mixer tap or a pull out rinser tap it’s time to get it installed and running for you!
Step 1: The exciting part is about installing your brand new tap. To connect the flexible hoses (they should come with the new tap), simply screw each one in by hand, ensuring you connect the hot water to the left side and the cold water to the right side.
Step 2: Now you can attach the threaded rod or bar to the third and final hole in the base of your new tap. Insert it until hand-tight, then use a screwdriver to tighten it slightly to secure it in.
Step 3: Once done you must ensure the O-ring is properly seated at the base of the tap. This will create a snug fit between the taps base and your sink.
Step 4: To install your new tap, first insert the tap body into the sink's mounting hole. You may need to feed each flexible supply line through the hole individually beforehand.
Once the tap is in place, be sure to attach the included washers underneath the sink. These washers should come packaged with your new tap.Step 5: Attach and tighten the final fixing nut, first ensuring the tap is properly positioned. For best results, have someone hold the tap in place from above to prevent unwanted movement.
Step 6: Connect the flexible tails to the hot and cold pipes. Tighten the nuts by hand until snug, then inspect the tails for any kinks. Once clear, fully tighten the connections using an adjustable wrench.
Step 7: Begin by turning the isolation valves back on to restore the water flow. Next, turn on the new tap and test both the hot and cold water supplies. Inspect the pipes under the sink for any leaks.
If the tap is working properly and there are no leaks, congratulations - you have successfully installed the new kitchen tap.
Frequently Asked Questions
How To Replace A Cartridge In A Kitchen Mixer Tap
Replacing ceramic cartridges is generally straightforward, as long as you have the right replacement part.
These cartridges come in left-handed and right-handed models for hot and cold water.
However, some single-lever mixer taps may present issues with the ceramic cartridges, so it's advisable to check with the dealer about their reliability before making a purchase so once you have worked that out you can then take the next steps.
How To Replace A Washer On A Kitchen Tap Without Turning The Tap Off
To avoid a messy situation, it's best to turn off the water supply before changing a tap washer.
Shutting off the water prevents it from spilling out while you work on the tap, making the task much cleaner and more manageable.
How Much Does It Cost To Change Your Kitchen Tap?
Are you unsure how much to replace a kitchen tap? Well the simple answer is that it varies depending on the style, quality and brand.