

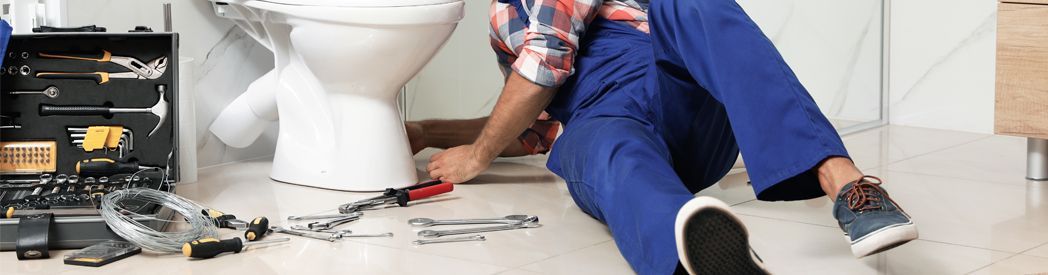
As always, we highly recommend leaving the installation of your bathroom suite to a qualified professional. However, if you’re competent at DIY, fitting your own toilet could potentially save you quite a bit of money.*
Things To Consider Before Fitting Your New Toilet
- Our toilet installation guide will walk you through replacing a close coupled toilet. If you’re planning on having a back to wall or wall hung toilet, then it’s advisable to consult a plumber as this can be quite a big job to do.
- Replacing a toilet could result in a very wet floor if you do not do it correctly. Ensure that you know exactly what you’re doing before dismantling your toilet.
- Be prepared to do some heavy lifting as toilets can weigh a significant amount.
- This guide assumes that you don’t need to move any kind of pipework around.
- This guide is intended for installing one of our close-coupled toilets. If you don’t know which type of toilet you have then refer to our Toilet Buying Guide .
So, if you have taken all the above points into account and you’re ready to install your toilet, read our detailed guide below. Alternatively, browse our toilet range and get in touch with a professional about installation.
Required Tools For Installing A Toilet
- Spirit level
- Adjustable spanner
- Adjustable wrench
- Stanley knife
- Screwdriver
- Tape measure
- Drill with bits
- Silicone sealant
- Pencil
Estimated Time For Removing And Fitting A Toilet
1-2 Hours
How To Remove A Toilet
Follow our step-by-step instructions below for removing your existing toilet.
- Remove the lid of your cistern
- Turn off your mains water supply line at the stopcock and flush the toilet. To ensure the water supply is in fact off, check that the cistern does not begin to fill up again.
- You will notice that there is an inch or two of water left over. It’s best to soak all this water up using a towel now. Otherwise you’ll end up with water everywhere once you remove the toilet.
- Soak up the water left in the toilet bowl as well. You might want to wear long rubber gloves for this part…
- Disconnect the water supply on the toilet itself - it’s usually very easy to see. All you need is an adjustable wrench. Have a bucket at the ready as the piping may still have some water left.
- The vast majority of cisterns have a way to hold themselves to the wall (usually a couple of screws). Unscrew the cistern and go underneath the cistern where you will find two wing nuts. Unscrew them and you’ll be able to simply lift the cistern off the toilet bowl.
- Detach the soil pipe from the back of the toilet bowl and plug the pipe with a bag or paper to block any smells.
- The bowl is usually held in place by two screws through the floor. If they’re not going into the floor directly, then look behind the bowl and you will see two ‘L’ shaped clamps. Unscrew the toilet bowl from them and then unscrew the clamps from the floor. The bowl should now lift away with ease.

How To Fit A Toilet
Once you have removed the old toilet, it’s a good idea to clean the floor underneath - it’s probably been a while since this was last done! After that, read the instructions below for fitting your new toilet in place.
- Place the new toilet bowl down exactly where you need it to be. If you’re lucky enough, you will only need to screw the bowl straight into the floor.
- It’s now a good time to reconnect the soil pipe.
- With some luck, you won’t need to use the clamps again, and you can simply drill the screws into the floor to bolt the bowl down. If you need to use clamps, then you will need to do a bit of measuring to make sure they’re in the right place.
- Now it’s time to fit the cistern. Lay the supplier rubber washer around the hole for the flush and place the cistern on the bowl.
- Screw the cistern and bowl together using two wing bolts. There will be two holes on either side of the bigger hole for the flush.
- Screw the cistern to the wall using the supplied screws and pack it out with silicone to ensure it does not move.
- Reconnect the cold water supply pipe - always check that it will fit before fitting the toilet. If it does not fit and the new toilet requires extra piping, it’s best to call a plumber for this job.
- Some toilets have different flushing mechanisms, so it’s best to find out which your toilet has been supplied with. Then, find out how to then install the flushing mechanism correctly. Manufacturers usually provide instructions with the toilet.
For more handy bathroom guides, take a look at our blog
If you’re yet to choose your new toilet, explore our extensive toilet selection.