

A cracked shower tray can be a cause for concern, but fear not – with the right knowledge and tools, you can repair it yourself and restore your shower to its former glory. In this detailed guide, we'll take you through the step-by-step process of repairing a cracked shower tray, providing valuable tips and addressing common FAQs related to shower tray repair.

Step-By-Step Guide On How To Repair A Cracked Shower Tray:
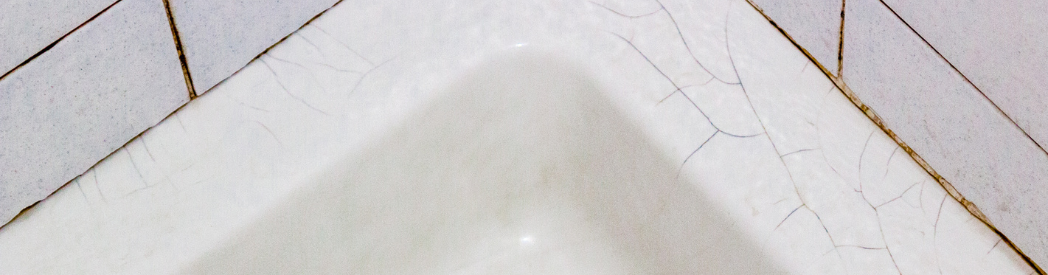
Step 1: Assess The Damage
Carefully examine the extent of the crack. If it's a hairline crack or a small chip, repairing it is a feasible DIY project. For larger cracks, consulting a professional may be necessary.
Step 2: Gather Materials And Tools
You'll need the following:
- Epoxy resin or acrylic filler
- Fine-grit sandpaper
- Isopropyl alcohol
- Clean cloth
- Putty knife or spatula
- Painter's tape

Step 3: Clean The Area
Thoroughly clean the cracked area with isopropyl alcohol to remove any soap scum, grease, or residue. This ensures better adhesion for the repair material.
Step 4: Sand The Crack
Use fine-grit sandpaper to lightly sand the area around the crack. This helps create a rough surface for the epoxy resin or filler to adhere to.
Step 5: Apply Epoxy Resin Or Filler
Follow the manufacturer's instructions for your chosen repair material. Use a putty knife or spatula to carefully apply the epoxy resin or filler into the crack. Smooth it out to be level with the surrounding surface.
Step 6: Allow To Cure
Let the repaired area cure according to the product's instructions. This may take several hours, so be patient.
Step 7: Sand And Finish
Once the repair is fully cured, use fine-grit sandpaper to smooth the surface. Wipe away any dust with a clean cloth.
Step 8: Paint Or Seal (If Necessary)
If your shower tray is coloured or needs additional protection, you may choose to paint or seal the repaired area. Use painter's tape to protect surrounding surfaces and follow the product instructions.
Repairing a cracked shower tray is a manageable task with the right guidance. By following our step-by-step instructions, you can successfully restore your shower tray and enjoy a renewed bathing experience. Remember to prioritise safety and seek professional assistance for extensive damage. Dive into the world of shower tray repair and regain the functionality and aesthetics of your bathroom.
Should you discover that your problem extends beyond a minor surface imperfection or if you've made the decision to replace your entire shower tray, check out our large collection of modern shower trays today. We offer you the best bathroom products at an unbeatable price in the UK.
FAQs:
Shower Tray Hairline Crack Repair - Is it Possible?
Yes, it is possible.To repair a hairline crack follow the above process: Clean, sand, apply epoxy resin or filler, and allow it to cure.
How to Repair A Crack In A Plastic Shower Tray?
The repair process is similar for plastic shower trays. Ensure the chosen repair material is suitable for plastic surfaces.
How to Repair Chip In Shower Tray?
Repairing a chip follows the same principles as repairing a crack. Clean, fill with epoxy resin or filler, and allow it to cure.