

Are you looking to enhance your shower experience by installing a mixer shower? With the right guidance, this can be a satisfying DIY project that not only elevates your daily routine but also adds value to your bathroom
In this comprehensive guide, we'll take you through each step of the installation process, from understanding mixer showers to troubleshooting common issues.

Understanding Mixer Showers
Before we dive into the installation process, let's first understand what mixer showers are and why they're worth considering.
What Is A Mixer Shower?
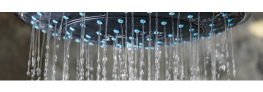
A mixer shower is a type of shower that blends hot and cold water to provide a consistent and comfortable water temperature. Unlike electric showers that heat water on demand, mixer showers rely on your existing hot and cold water supplies. They are known for their precise temperature control and can be a fantastic addition to any bathroom.
Now that we have a basic understanding, let's gather the tools and materials required for the installation.
Tools And Materials
Here's a list of the essential tools and materials you'll need to install a mixer shower:
Tools:
- Adjustable wrench
- Screwdrivers (flathead and Phillips)
- Pipe cutter or hacksaw
- Spirit level
- Drill and bits
- Pencil
- Tape measure
- Adjustable spanner
- PTFE tape (plumber's tape)
- Tile cutter (if necessary)
- Safety goggles and gloves
Materials:
- Mixer shower unit
- Wall brackets and fixings
- Copper pipes or flexible hoses
- Compression fittings
- Wall plugs
- Screws
- Tile adhesive and grout (if tiling is required)
- Silicone sealant
- Wall-mounted shower head and hose
- Isolation valves (if not already present)
Now that you've gathered everything you need, let's proceed to the installation steps.
Pre-Installation Preparation
1. Check Water Pressure And Suitability
Before installing a mixer shower, it's crucial to check the water pressure in your home. Mixer showers work best with a minimum pressure requirement, typically around 0.1-0.5 bar. If your water pressure falls within this range, you're good to go. However, if your pressure is significantly lower, you might need a shower pump to boost it.
2. Determine The Shower Location
Decide where you want to install your mixer shower. Ensure it's a comfortable and accessible location that allows easy access to the hot and cold water supplies. It's also essential to consider the showerhead's height to accommodate different users.
3. Isolate The Water Supply
Locate and shut off the water supply to the bathroom or the specific water lines you'll be working on. This step is crucial for your safety and to prevent any water leakage during the installation.
With the pre-installation preparations in place, let's move on to the installation steps.
Installing The Mixer Valve
The mixer valve is the heart of your mixer shower, where the hot and cold water are blended to your desired temperature. Here's how to install it:
1. Mark The Installation Height
Using a spirit level and a pencil, mark the desired height for your mixer valve on the wall. This height should be comfortable for you and anyone using the shower. Typically, mixer valves are installed around chest to shoulder height.

2. Attach The Wall Brackets
Install the wall brackets for your mixer valve at the marked height. Use wall plugs and screws to secure them firmly to the wall. Ensure they are level and properly aligned.
3. Connect The Pipes
Next, it's time to connect the hot and cold water supplies to the mixer valve. If you have existing copper pipes, use compression fittings to make the connections. If you're using flexible hoses, attach them securely. Apply PTFE tape to the threads to ensure a watertight seal.
4. Mount The Mixer Valve
Slide the mixer valve onto the wall brackets and secure it in place using the provided fixings. Double-check that it's level and at the desired height.

5. Fit The Cover Plate
Most mixer valves come with a cover plate to conceal the pipework and create a neat finish. Attach the cover plate to the valve, ensuring it's properly aligned and secure.
With the mixer valve in place, you're one step closer to enjoying your new mixer shower. Now, let's move on to connecting the shower head and hose.
Connecting The Shower Head And Hose
The shower head and hose assembly is the final piece of the puzzle. Here's how to connect them:
1. Attach The Shower Head Holder
If your shower head holder requires wall mounting, use the provided fixings to attach it securely. Ensure it's at a height that suits your preferences.
2. Connect The Hose
Attach one end of the shower hose to the mixer valve's outlet. Ensure it's tightened securely to prevent any leaks.
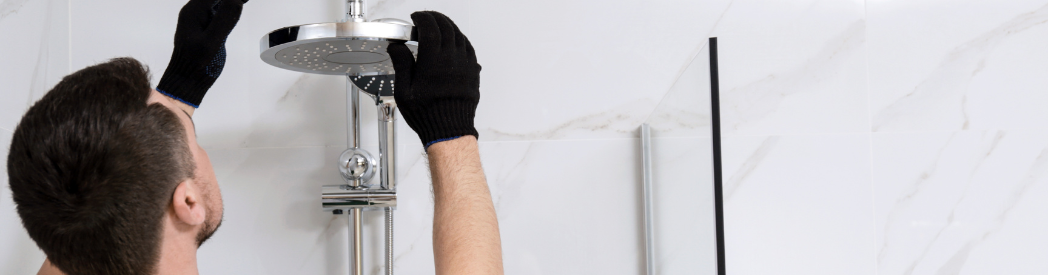
3. Mount The Shower head
Slide the shower head onto the holder, and you're almost done. Make sure it's secure but not overly tight.
Testing And Adjusting

Before you can enjoy your newly installed mixer shower, it's essential to test it and make any necessary adjustments:
- Turn on the water supply.
- Gradually open the mixer valve to let water flow.
- Check for any leaks around the valve, connections, or shower head.
- Adjust the mixer valve to achieve your desired water temperature.
- Ensure that the water pressure is adequate for a comfortable shower.
If everything checks works fine, congratulations! You've successfully installed a mixer shower.
Maintenance And Troubleshooting
To keep your mixer shower in excellent condition, consider these maintenance tips:
Regular Cleaning
Cleaning your shower head and hose is a simple yet effective way to ensure consistent water flow and prevent clogs. Over time, mineral deposits, soap scum, and debris can accumulate inside these components, restricting the flow of water and affecting your shower's performance.
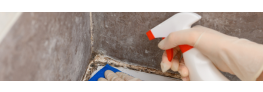
Descaling
Descaling is a vital maintenance task that focuses on the inner workings of your mixer shower—the valve. Over time, especially in areas with hard water, mineral deposits can accumulate inside the valve. These deposits can obstruct water flow, reduce pressure, and even affect the accuracy of temperature control.
For any issues or troubleshooting, refer to the manufacturer's instructions or seek professional assistance.
Installing a mixer shower can be a rewarding DIY project that enhances your bathroom experience. By following the steps outlined in this guide and ensuring proper maintenance, you'll enjoy the benefits of a comfortable and precisely controlled shower for years to come.
If you're planning to upgrade your shower or build a new bathroom, consider browsing Bathroom Takeaway’s impressive collection of mixer showers. to find the best product.
FAQs:
How High Should A Shower Mixer Be Installed?
The ideal height for installing a shower mixer valve typically ranges from chest to shoulder level. This allows for comfortable access to the controls and the showerhead. However, the exact height can vary based on personal preference and the height of the users. It's essential to ensure that the showerhead can be adjusted to accommodate different heights and angles.
How Much Does It Cost To Fit A Mixer Shower?
On average, the cost of a standard mixer shower installation will be between £150 to £300. However, the cost of fitting a mixer shower can vary significantly based on several factors, including the complexity of the installation, labour costs in your area, the type and brand of mixer shower you choose, and whether any additional plumbing work is required.
How Do You Fit A Thermostatic Mixer Shower?
Fitting a thermostatic mixer shower follows similar steps to those outlined in the comprehensive guide provided earlier for installing a mixer shower. Here are the key steps specific to fitting a thermostatic mixer shower:
- Prepare the Installation
- Install the Mixer Valve
- Connect Hot and Cold Water Supplies
- Attach Shower Components
- Test and Adjust
Please note that thermostatic mixer showers come with added safety features to maintain a consistent water temperature, making them a popular choice for families.
How To Change A Mixer Shower If Needed?
Changing a mixer shower involves a process that includes removing the existing mixer valve and installing a new one. Here's a simplified overview: 1. Turn Off the Water Supply -> 2. Remove Existing Fixtures-> 3. Disconnect Water Supply -> 4. Replace with New Mixer Valve -> 5. Reassemble Fixtures -> 6. Test for Leaks
If you're not confident in your plumbing skills, it's advisable to consult a professional plumber for changing a mixer shower, as it involves working with water connections and ensuring proper sealing to prevent leaks.