


Are you in need of extending your radiator pipes for a more efficient heating system setup? Look no further! In this comprehensive guide, we will walk you through the process of extending radiator pipes, whether they are made of plastic or are flexible. Follow these step-by-step instructions to ensure a successful and hassle-free extension.

Step 1: Gather The Necessary Tools
Before you begin, make sure you have all the tools you'll need. These may include a pipe cutter, pipe connectors, compression fittings, a pipe wrench, and a measuring tape. Having these tools ready will help streamline the process.
Step 2: Turn Off The Heating System
To ensure safety and avoid any leaks or accidents, turn off the heating system and allow the radiator pipes to cool down completely before starting any work.
Step 3: Measure and Plan
Measure the distance by which you need to extend the radiator pipes. This will help you determine the length of the new pipes or connectors you will need. Plan the route for the extension carefully, considering any obstacles or obstructions that may affect the installation.
Step 4: Cut and Remove Existing Pipes (If Needed)
If you need to remove a section of the existing pipes to make room for the extension, use a pipe cutter to make a clean cut. Be cautious not to damage surrounding pipes or fittings. Once the section is cut, remove it carefully.
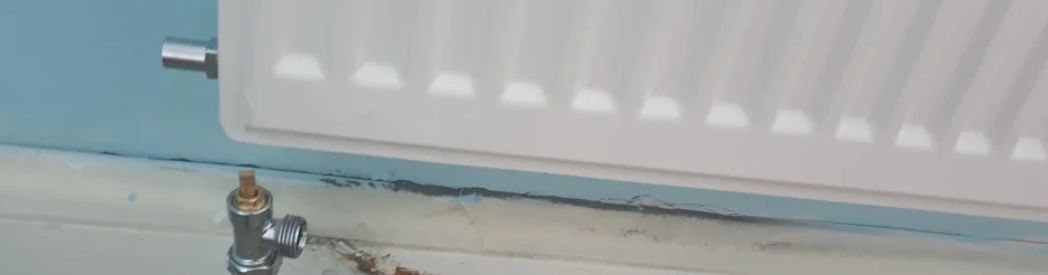
Step 5: Attach New Pipes or Connectors
Using appropriate compression fittings or pipe connectors, attach the new pipes to the existing ones. Ensure a tight and secure fit to prevent any potential leaks. If you're extending plastic radiator pipes, make sure to use connectors specifically designed for plastic pipes.
Step 6: Tighten and Secure the Connections
Once the new pipes or connectors are in place, use a pipe wrench to tighten the compression fittings or connectors securely. Be careful not to overtighten, as this may damage the pipes or fittings. Double-check all connections to ensure a watertight seal.
Step 7: Test for Leaks
After completing the extension, turn on the heating system and check for any leaks or drips around the newly extended radiator pipes. If you notice any leaks, tighten the fittings further or replace any faulty parts.
Can Radiator Pipes Be Extended?
Yes, radiator pipes can be extended with proper planning and installation. By following the steps outlined above, you can extend plastic or flexible radiator pipes successfully. However, it's essential to note that the extension should be done carefully to maintain the integrity of the heating system and avoid any potential issues. Remember, when extending radiator pipes, it's crucial to prioritize safety, accuracy, and quality connections. By taking the time to measure, plan, and execute the extension correctly, you can ensure a more efficient heating system and avoid costly repairs in the future. Extending radiator pipes is a manageable task when approached with the right tools, techniques, and attention to detail. Enjoy the benefits of a properly extended radiator pipe system and enjoy a cozy and warm environment in your home.