


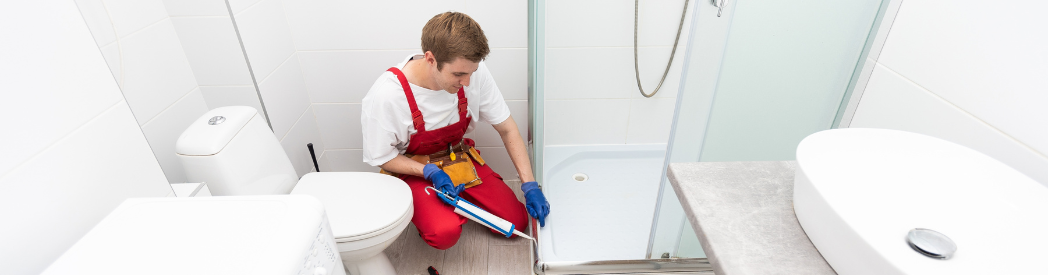
A well-sealed shower tray is essential for preventing water leaks and maintaining the integrity of your bathroom. In this detailed guide, we'll take you through the step-by-step process of sealing a shower tray effectively.
Importance Of Proper Sealing
- Proper sealing is the unsung hero in maintaining the longevity and functionality of various fixtures in your bathroom, with the shower tray being a crucial component.
- It acts as a protective barrier against water infiltration, preventing potential damage to the underlying structure.
- Without adequate sealing, water can seep into joints, corners, and gaps, leading to a cascade of issues, including mould growth, rotting of wooden structures, and damage to adjacent walls and floors.
- Beyond functionality, proper sealing enhances the visual appeal of your bathroom, ensuring that it remains an inviting and hygienic space.
Significance In Preventing Water Damage
Water damage is a pervasive and costly problem that can arise when shower trays and other bathroom fixtures are not adequately sealed.
Unsealed joints and edges allow water to penetrate into areas where it shouldn't be, leading to structural deterioration and creating an environment conducive to mould and mildew growth.
Over time, water damage can compromise the integrity of your bathroom, requiring extensive repairs and potentially impacting adjacent rooms or spaces. Proper sealing acts as a robust defence mechanism, thwarting water's attempts to wreak havoc on your bathroom infrastructure.
Materials And Tools:
- High-quality shower tray sealant
- Caulk gun
- Utility knife
- Masking tape
- Sealant smoothing tool or a wet finger
- Cleaning supplies
Step-By-Step Process Of Sealing A Shower Tray:
1. Prepare The Area
- Thoroughly clean the surface of the shower tray. Remove any existing sealant, dirt, or soap scum.
- Ensure the shower tray is completely dry before applying the new sealant.
2. Choose The Right Sealant
- Select a high-quality shower tray sealant that is suitable for your tray material.
- Consider features like waterproofing, mould resistance, and colour compatibility.

3. Masking
- Use masking tape to protect the surrounding surfaces, such as tiles or walls adjacent to the shower tray.
- Apply the tape precisely along the edges, leaving a clean line for the sealant.

4. Load The Caulk Gun
- Load the chosen sealant into a caulk gun. Cut the nozzle at a 45-degree angle to achieve the desired bead size.
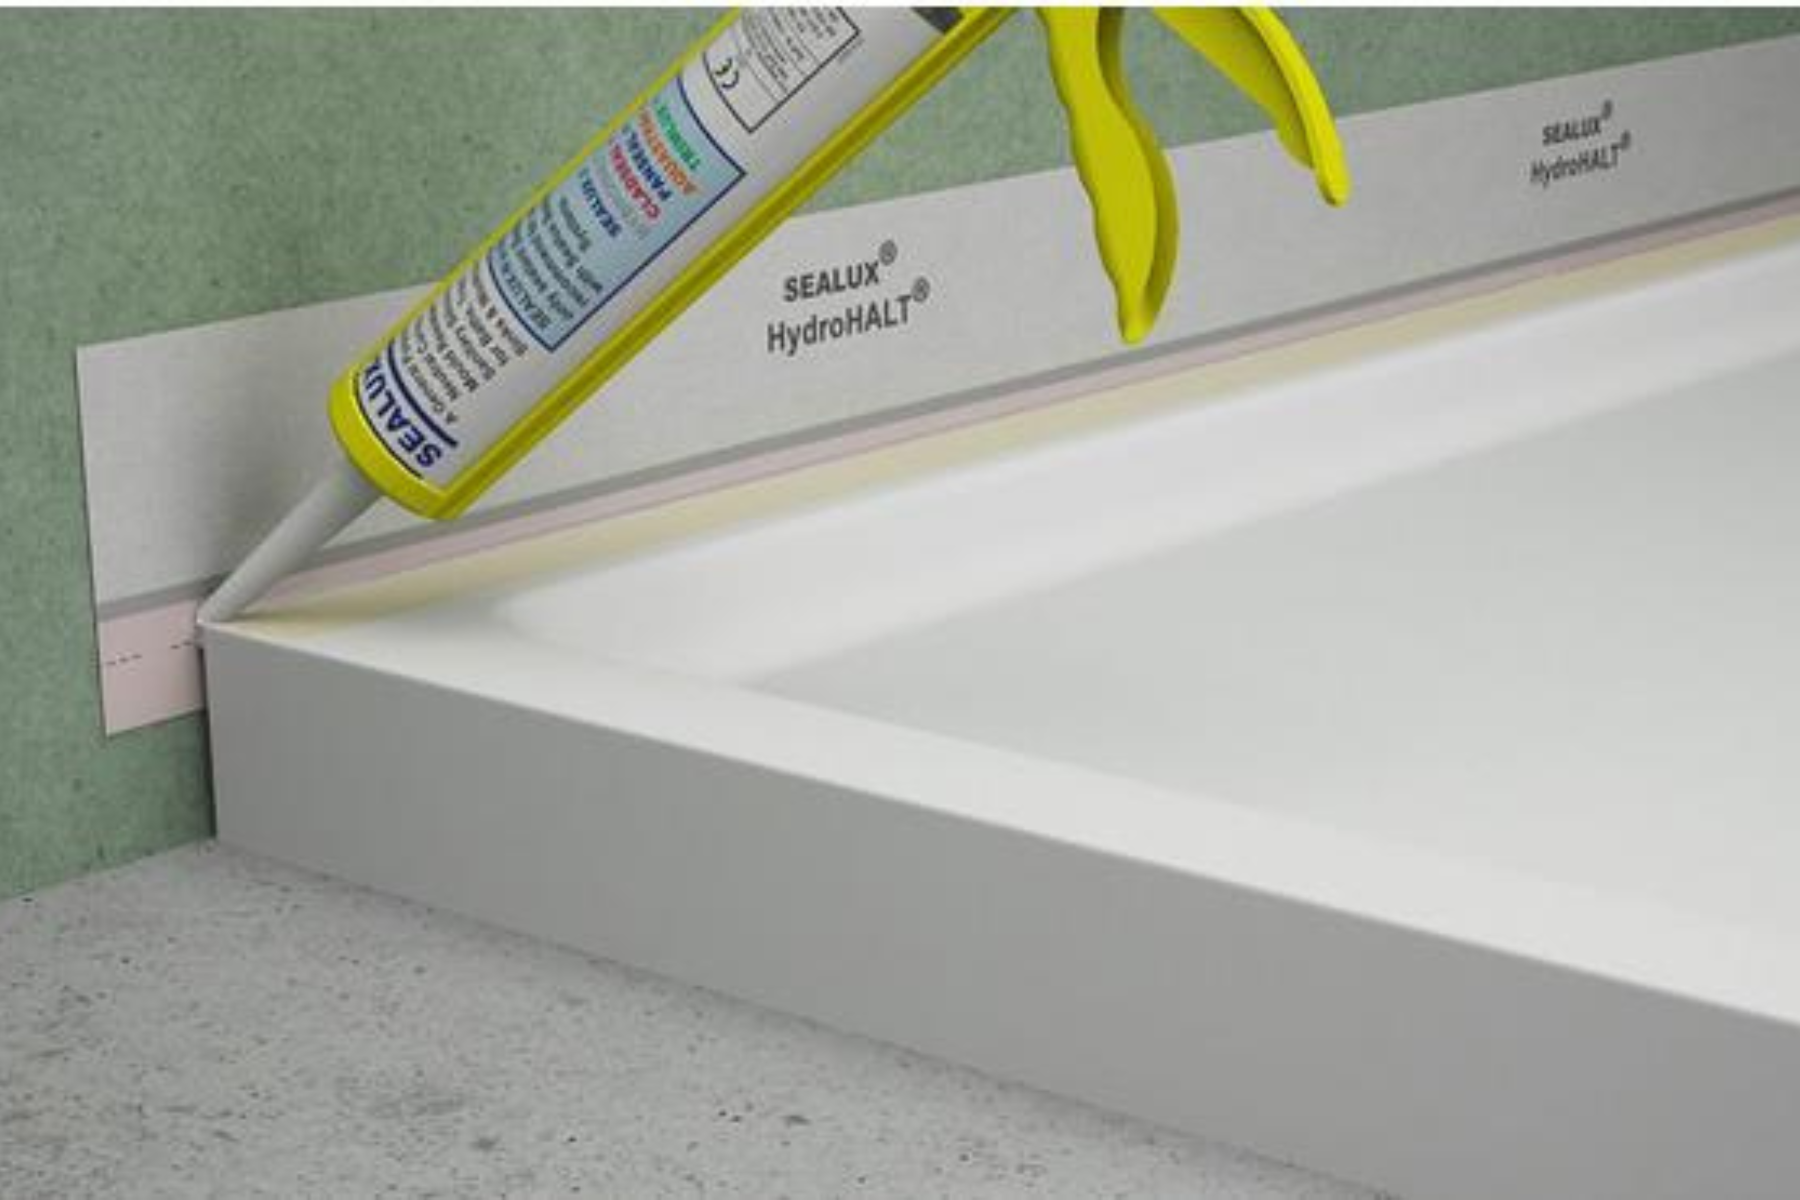
5. Apply Sealant
- Start applying the sealant along the edges of the shower tray. Maintain a consistent and continuous bead.
- Pay special attention to corners, joints, and areas where the tray meets the wall.
6. Smoothing The Sealant
- Use a sealant smoothing tool or a wet finger to smooth the applied sealant. This ensures an even application and a neat finish.
- Smooth out any imperfections, creating a tight seal.
7. Cure Time
- Allow the sealant to cure according to the manufacturer's instructions. This is a critical step for optimal performance.
- Avoid using the shower during the recommended curing period.
8. Post-Sealing Cleanup
- Once the sealant has cured, carefully remove the masking tape from the surrounding surfaces.
- Wipe away any excess sealant with a clean, damp cloth for a polished appearance.

9. Inspect The Seal
- Inspect the sealed areas for any gaps or imperfections. Touch up if necessary.
- Ensure the seal is watertight and visually appealing.
By following these steps, you establish a robust and reliable seal around your shower tray, providing the necessary protection against water infiltration and contributing to the overall well-being and longevity of your bathroom.
FAQs
How To Seal A Shower Tray With Silicone?
Sealing a shower tray with silicone involves using a high-quality silicone sealant. Silicone provides flexibility and water resistance. Apply the sealant along the edges of the tray, ensuring full coverage.
Smooth the silicone with a tool or your finger for a seamless finish. Silicone seals effectively and remains durable in wet conditions.
How To Seal A Cracked Shower Tray?
Repairing a cracked shower tray involves thorough steps. Remove the old sealant around the crack, clean the area, and ensure it's dry. Apply a silicone sealant generously over the crack, making sure it covers the entire damaged area.
Smooth the sealant for an even finish. Allow ample curing time before exposing the tray to water.
How To Seal A Large Gap Around A Shower Tray?
Sealing a large gap around a shower tray demands a gap-filling sealant. Select a sealant designed for substantial gaps. Apply it generously to fill the space, ensuring complete coverage.
Use a smoothing tool to achieve a neat appearance. Allow the sealant to cure thoroughly for a robust and waterproof seal.
How To Seal A Leaking Shower Tray?
Identifying and fixing a leaking shower tray is crucial to prevent water damage. Pinpoint the source of the leak, remove the old sealant, and clean the area.
Apply a waterproof silicone sealant, covering the leak entirely. Smooth the sealant and allow it to cure. This comprehensive approach ensures a reliable and long-lasting fix.
How To Seal A Shower Tray To Tiles?
Sealing a shower tray to tiles is a crucial step in preventing water seepage. Apply a bead of silicone sealant along the edges where the tray meets the tiles.
Ensure the sealant adheres well to both surfaces. Use a smoothing tool or your finger for a neat finish. Allow the sealant to cure completely before using the shower.
How To Seal A Shower Tray Waste?
Sealing a shower tray waste involves applying silicone sealant around the waste outlet. This ensures a watertight seal, preventing leaks. Clean the area thoroughly, apply the sealant generously, and smooth it for optimal coverage. Allow the sealant to cure completely before using the shower.
How To Seal A Shower Tray With A Large Gap?
Sealing a shower tray with a large gap necessitates choosing an appropriate sealant for such spaces. Apply the sealant generously to fill the gap, ensuring it covers the entire area. Smooth the sealant for an even finish. Adequate curing time is essential for a secure and waterproof seal.
What Is The Best Way To Seal A Shower Tray?
The best way to seal a shower tray involves selecting a high-quality, waterproof sealant. Apply the sealant evenly along the edges, ensuring complete coverage. Smooth the sealant with a tool or your finger for a polished finish. Follow the manufacturer's guidelines for curing time to achieve the most effective and long-lasting seal.
Do I Seal A Shower Tray Before Fitting Enclosure?
Yes, it's advisable to seal a shower tray before fitting an enclosure. Sealing the tray beforehand ensures a watertight barrier, preventing leaks and water damage. Clean the tray edges, apply a continuous bead of sealant, and allow it to cure before installing the enclosure.
How Big To Cut Nozzles To Seal Shower Trays?
When sealing a shower tray, cut the nozzle of the sealant at a 45-degree angle. The size of the cut determines the bead size. Adjust the cut based on the gap you need to fill. A precise cut allows for controlled application, ensuring an effective seal.